
 They are everywhere...GIFs...those animated pictures we all love. They tell stories, make us laugh with jokes, and allow the sharing of multiple images in one frame. They are great to use in documents, slides, email, and social media but how can you easily make them? There are apps and tools that you can use, but there is also an easy way already built into your Google Account. Making basic GIFS is as easy 1, 2,3 using Google Photos. Follow the steps below and get GIFing!
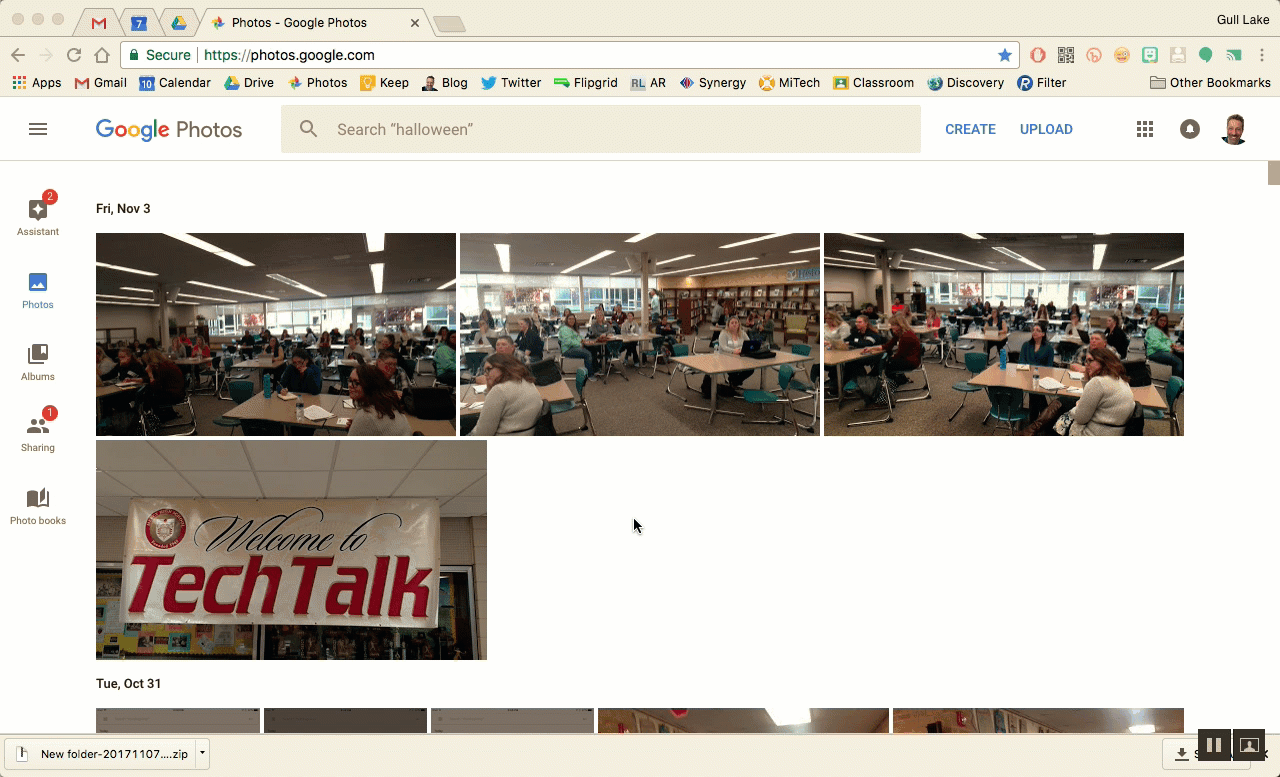
1: Get Photos into Google Photos
- Use the Google Photos app on your mobile device to auto-upload device pictures: How To Document
- Manually upload images to Google Photos.
- Go to photos.google.com.
- Drag your images from your computer directly to the screen.
2: Select Images in Google Photos
- Go to photos.google.com or use the Google Photos app and select the check mark in the top left corner of any image you want to be included in your GIF.
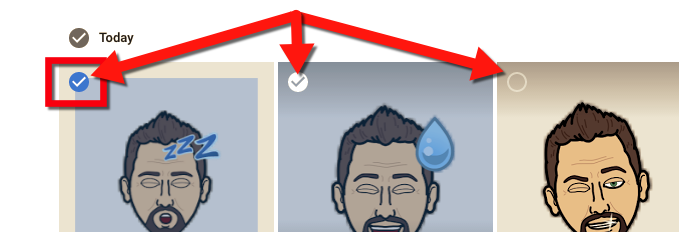
- You can choose between 2-50 images for any one GIF.
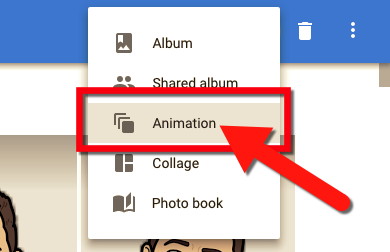
3: Create Animation
- Once your images are selected, click the “+” icon in the top right.

- Select Animation.
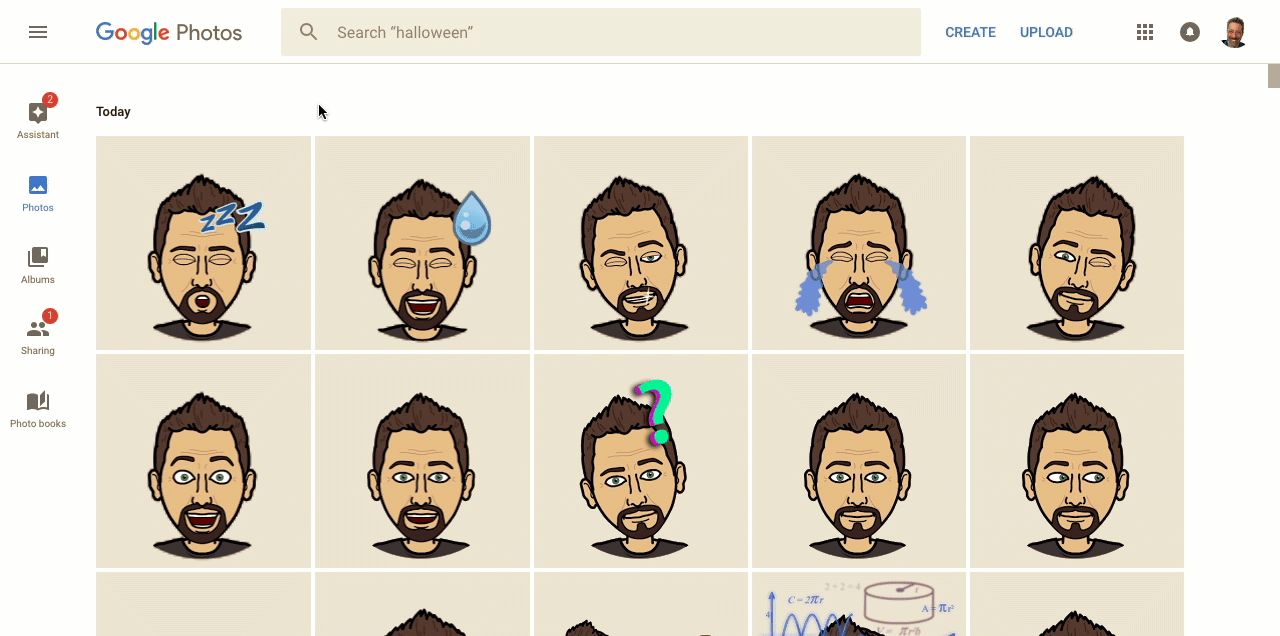
- Your animated GIF will be created. Download or insert this image into any project or social media post to share.

The best feature of a GIF is that you can insert this into almost anything (Docs, Slides, Email, Twitter, etc…). This is an easy way to share multiple images in one frame or to create a step by step process (such as stop-motion action/time lapse). The uses are endless and add a little flair to your documents.
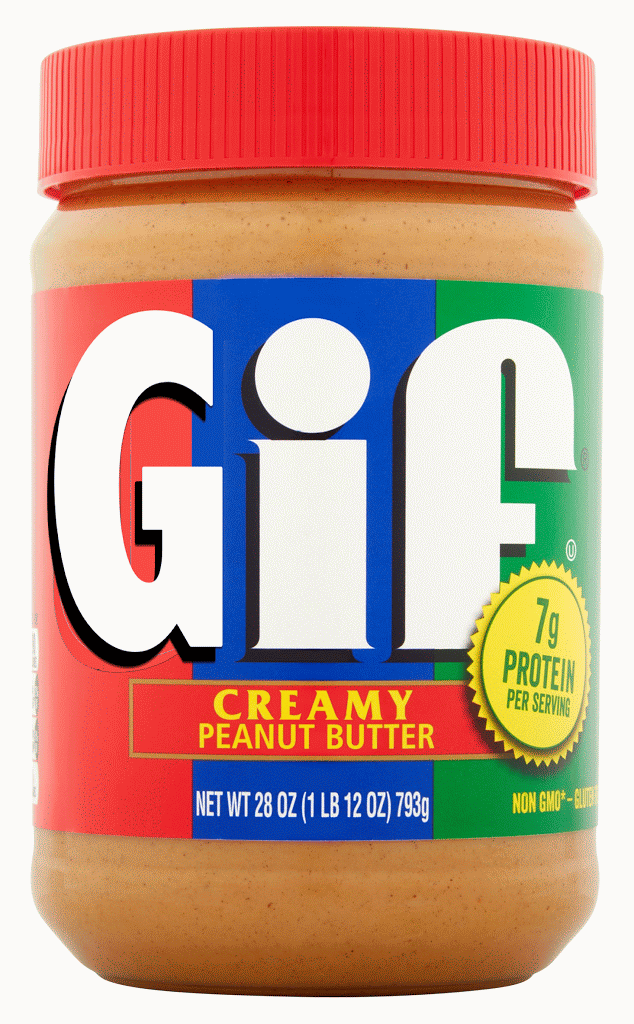
...and remember...it is a “J” sound in GIF (like the peanut butter)!
If you want these directions in a document click Here!